


We will be sharing some helpful Pro tips on improving your dirt bike suspension.
Tip #1 Assess Suspension Travel During Your Ride/Use A Travel Marker:
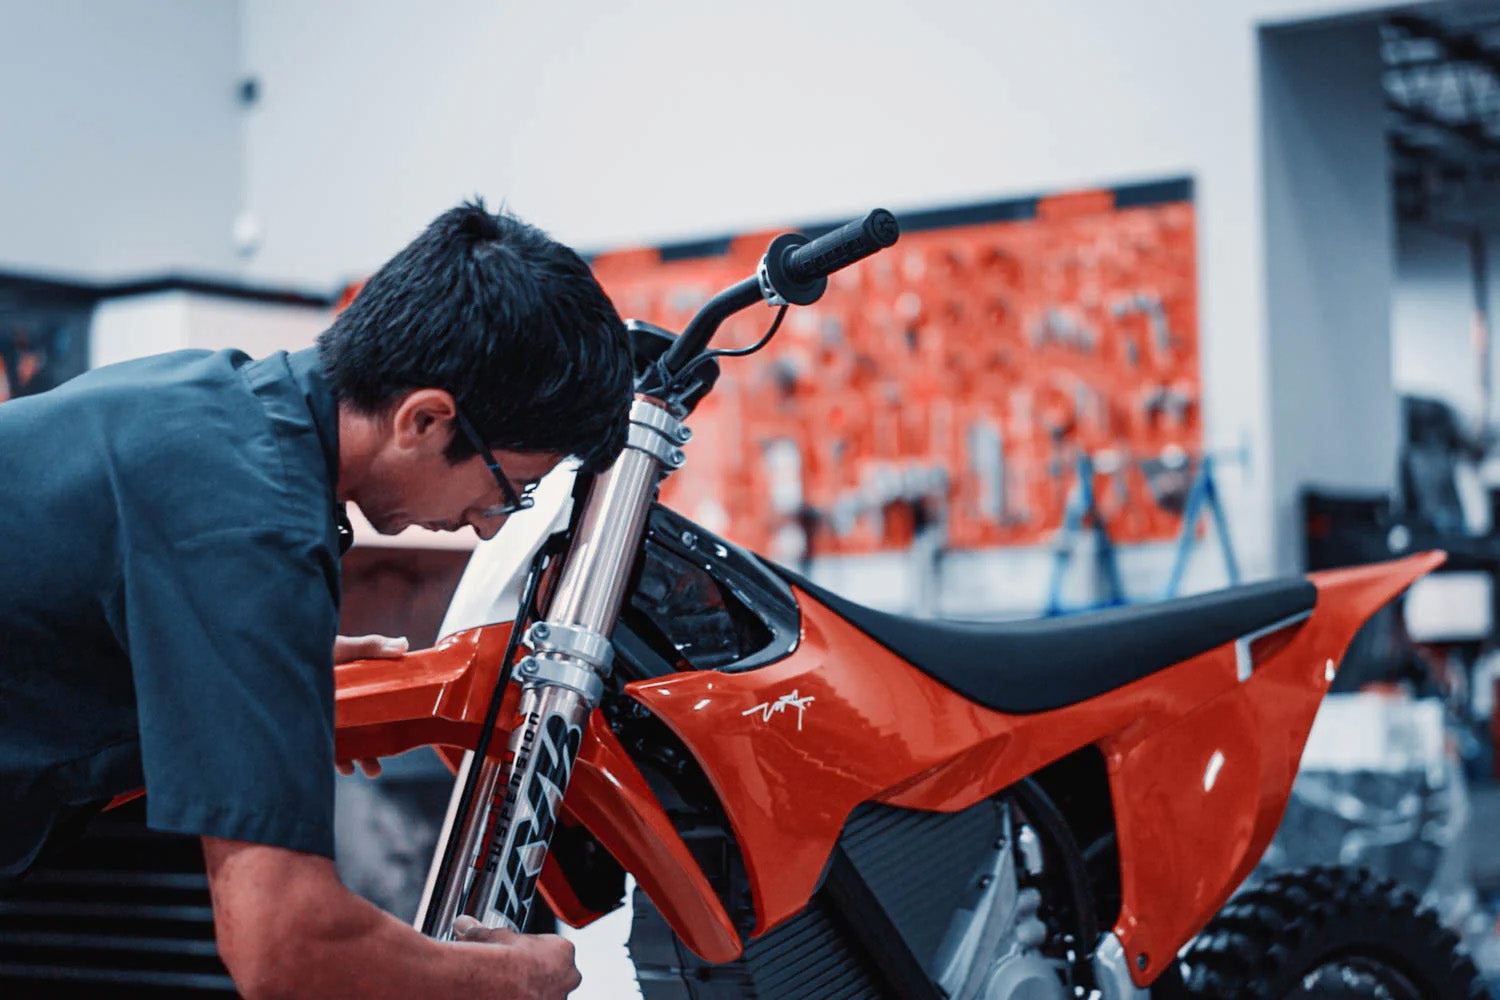
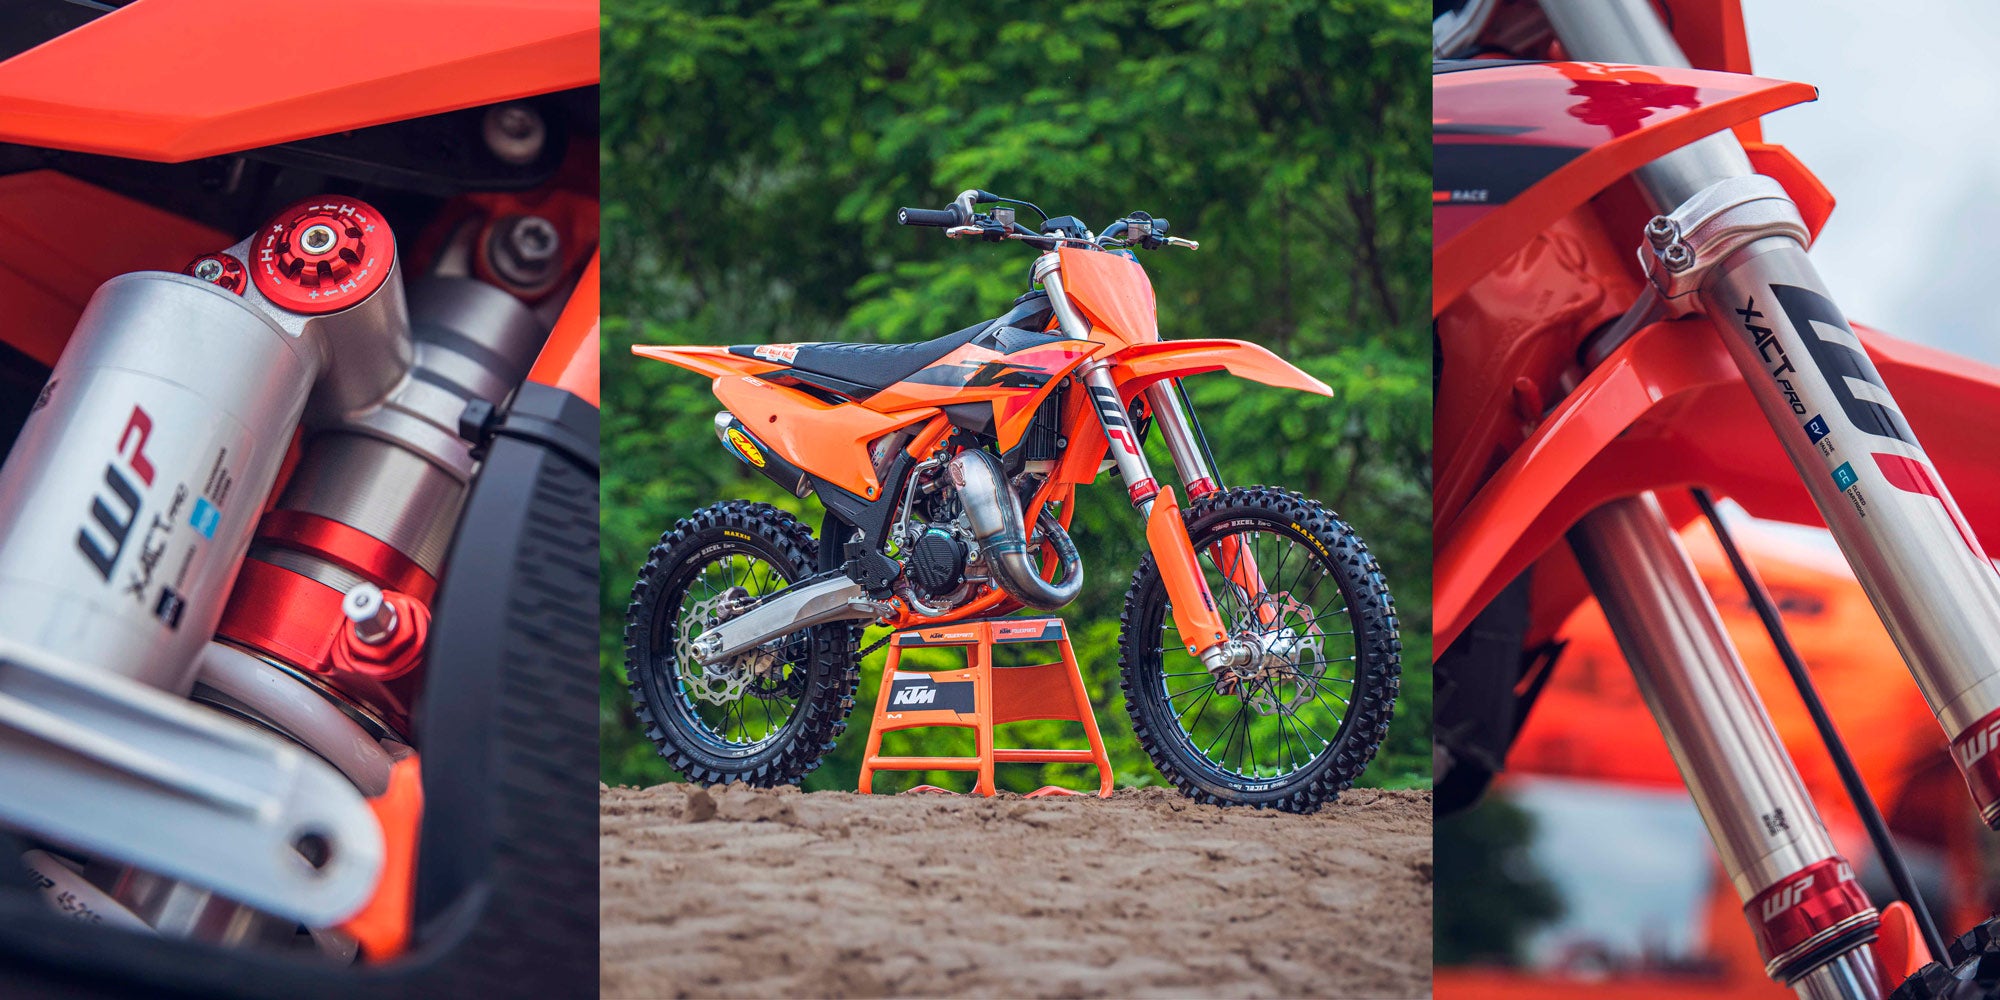
You plan on riding your motorcycle, most of the time is where you want to test, whether it's the woods, motocross track, asphalt track, etc. Go warm up, then put in a couple of good laps, pushing 80%, and right after pulling off the track or trail, look at your fork's inner tubes. What you will find on the inner tube is a travel marker of some sort that is wrapped snugly around the fork's inner tube; for example, a simple zip tie would do the trick for indicating how far the forks have compressed in the travel, and for the forks that don't have any indicator you will have to pay attention to the dirt/dust ring left behind by your fork seal to get an idea of how much suspension you are using, this at times can get confusing so I highly recommend a zip tie snug around the inner tube if a travel marker isn't already around your inner tube. Does the travel indicator mark far from reaching the fork shoes, or does it bottom out on the shoes? For example, if the travel marker is always touching the shoes, it could mean forks are too soft, and if the travel marker is 2" above the fork shoe or more, then there's a good chance they are too stiff; by figuring this out, you will have a more straightforward path on what adjustments to make.
- Test and Observe: Ride at a challenging pace (around 80% effort) in your typical riding environment.
- Track Compression: Use a zip tie or similar marker on your inner tube to see how far the fork compresses during your ride.
-
Interpret the Results:
- Marker Near Shoe: Suspension is too soft, consider adjustments for increased stiffness.
- Marker Far Above Shoe: Suspension is too stiff, consider adjustments for increased softness.


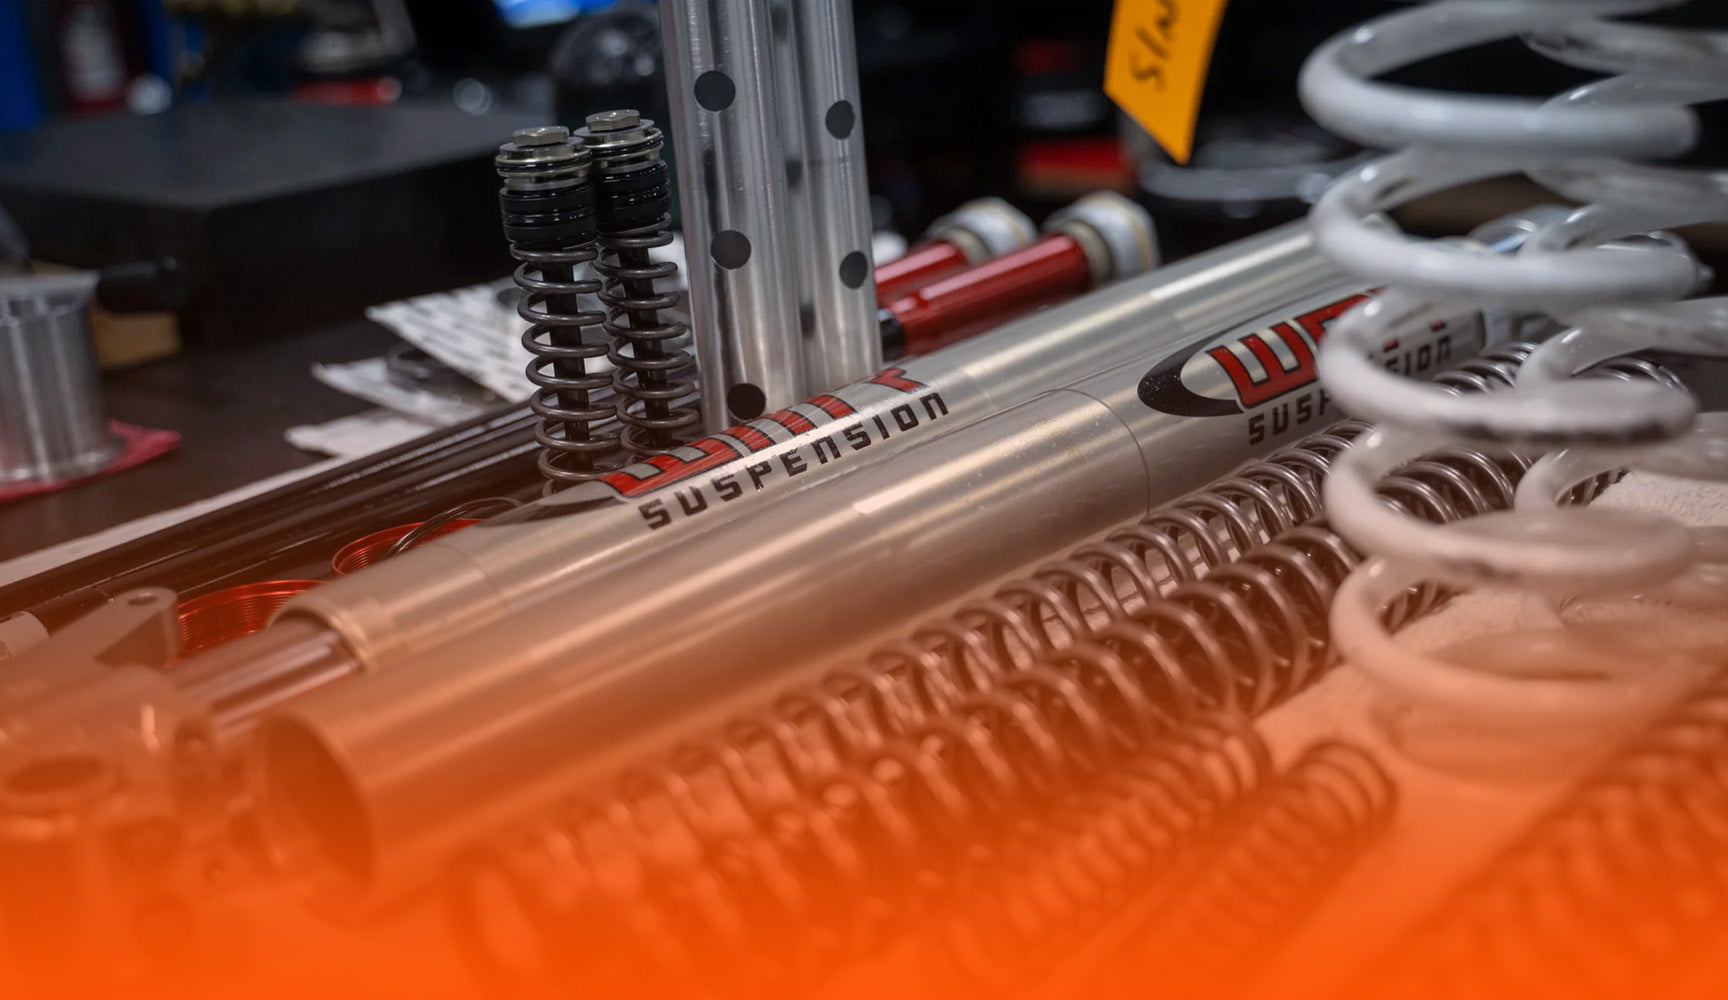
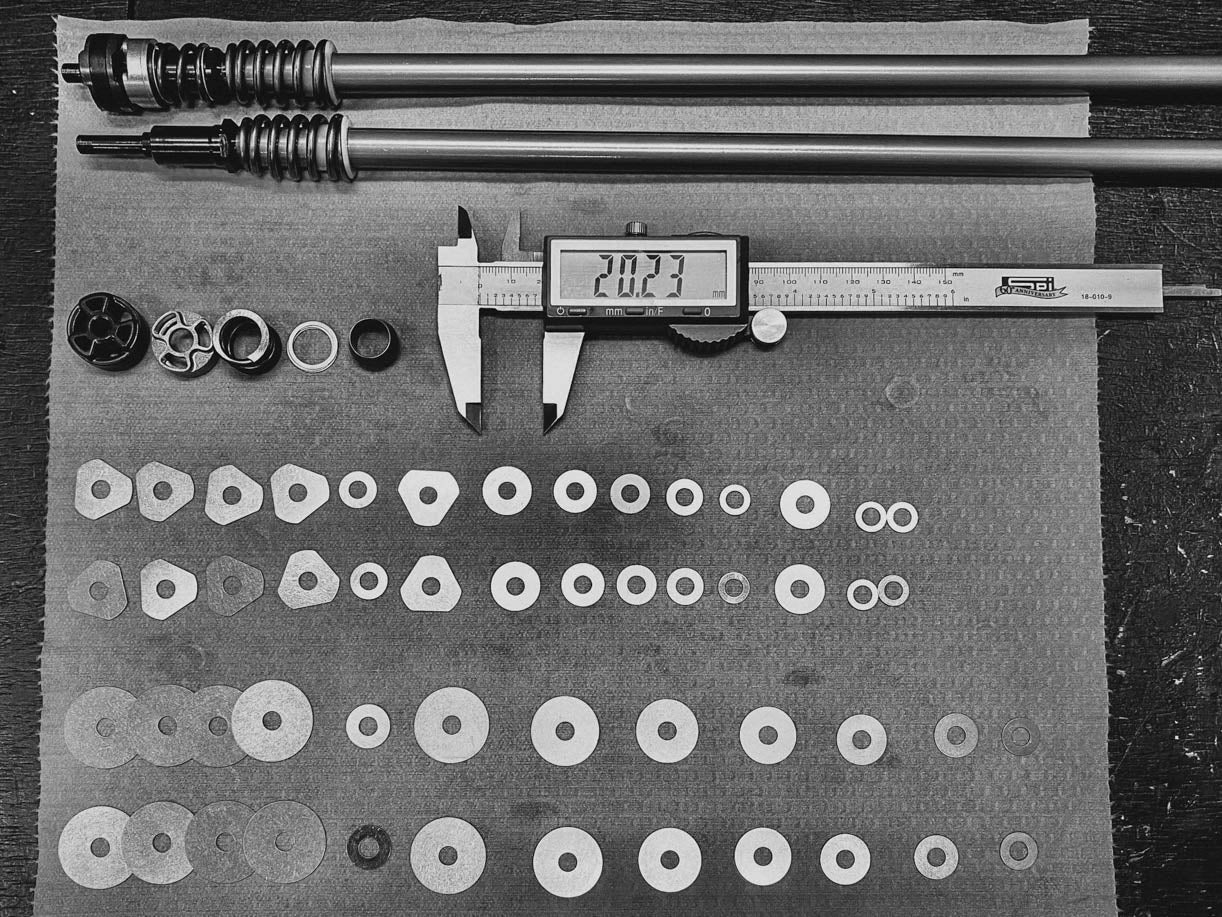
Tip #2 Dial in Your Suspension Spring: Identify what kind of forks you have, be it spring, air, or both. Whenever you can adjust air pressure, be sure to check it and have it set to a recommended pressure from your owner's manual according to your weight as a baseline, accounting for the weight of the gear as well. If you have spring forks, refer to your owner's manual to see if the stock spring rate is in range for your weight. If you surpass the standard weight or fall short underweight, adjustments to the fork air pressure must be made.
- Air forks: Check your owner's manual for the recommended air pressure based on your weight, including your gear. Use this as a starting point. Too little pressure and the fork will bottom out easily. Too much pressure and the fork will feel stiff.
- Spring Forks: Refer to your manual to see if the stock spring rate is suitable for your weight. If you're outside the recommended weight range, consider a spring change.
You can increase or decrease the fork air pressure by 3 psi from the Standard pressure given in the owner's manual, which should get you in the right direction. You must manually remove the mechanical springs and install the correct spring rate with spring forks. Use the same approach to choose your correct shock spring. You can use rear shock rider/static sag numbers to help you decide if a spring change is needed. Having too soft of a mechanical spring rate or air pressure will cause the fork travel indicators to bottom out against the shoes or bottom out hard enough to feel the impact on your arms. Having too stiff of a mechanical spring or air pressure will hold you back from using most of your fork travel. Note that skill level can also play a role when choosing the correct spring rate or air pressure. Once you have the proper springs or air pressure with a known sag number, we have a solid starting point to diagnose clickers.
Fine-tuning Air Pressure:
For both air forks and rear shocks, you can fine-tune the air pressure based on sag (suspension travel used when you sit on the bike). Check your manual for recommended sag numbers. Experiment with adding or subtracting 3 psi at a time from the starting pressure to achieve the desired sag.
Signs of Incorrect Spring Rate/Air Pressure:
- Too soft: The fork bottoms out easily on bumps, impacting your arms.
- Too stiff: You're not using the full travel of the fork, limiting its effectiveness.
Skill Level Matters:
Beginner riders may prefer a slightly softer setup for comfort, while advanced riders might benefit from a firmer setup for better control.


Tip #3 Mastering Clicker Adjustments: When adjusting clickers & doing your testing, it is vital to be honest with yourself and give it a reasonable effort at a pace you can maintain. Having a travel marker on your inner tube will help you decide whether to go softer or stiffer depending on how much Tavel you are using up, and I recommend that you start with adjusting compression clickers to help you reach a desired use of suspension travel, in most cases 1” from bottoming. Turn the clicker counterclockwise (softer/more active comfort) to use more of your suspension, or turn the clicker clockwise (stiffer/more hold-up strength) to use less of your suspension. To count what clicker setting you are currently on, turn the adjuster clockwise and count how many clicks/notches you feel until it stops; that will be your clicker setting #, and it is essential not to force your clicker adjuster clockwise or counterclockwise; there’s no need to treat the clicker like a fastener. To set your clickers to a particular # spec, you will turn the adjuster clockwise until it stops so that the last notch/click you felt before bottoming out the adjuster will be your “0 clicks out”. So, for example, if you need to set the clicker to “12 clicks out,” just turn the adjuster 12 clicks counterclockwise from 0 to set. If you set your fork clickers to 12 clicks out on rebound & compression, then also do the same to the shock; this will set you at a starting point if you don’t have any info on what the standard Shock & fork clickers should be, otherwise refer to your owners manual for standard clicker settings to start. When making clicker changes, I recommend similar changes to your shock clickers that follow the direction of changes you are making to the forks. When you are near either end of the clicker range, full soft or full hard, with your suspension to feel somewhat comfortable with the ride, that is a good indicator that you will want to have your suspension set up/re-valved for your speed over ground and style of riding. It isn’t strange to have customers bring in their suspension that is not sprung for their weight or the correct internal valving setting for their speed/style altogether; as the suspension technician, I’ll collect rider information to tailor the suspension setup for the rider. Re-valving suspension, geometry changes, and even a suspension service to the standard dirt bike forks & shock can give you better traction with a more enjoyable ride and a good range of clicker adjustments to go softer or stiffer for fine-tuning.
- Realistic Testing: Push yourself at a sustainable pace to feel the suspension working effectively.
Track Travel with a Marker:
- Visual Feedback: Add a travel marker to your inner tube. This helps determine how much suspension travel you're using (ideally, 1 inch from bottoming out).
Start with Compression Clickers:
- Softer for Comfort (Counter-clockwise): Turn the compression clicker counter-clockwise to use more travel, making the ride softer and more comfortable.
- Stiffer for Control (Clockwise): Turn the clicker clockwise to use less travel, providing more support and control.
Setting Your Clicker Baseline:
- Counting Clicks: Turn the clicker clockwise until it stops, counting the clicks. This is your "0 clicks out" setting (fully clockwise).
Making Adjustments:
Clicker Settings: Adjust the clicker counter-clockwise from 0 clicks out to achieve your desired feel. (e.g., 12 clicks out for a softer setting).
Matching Fork and Shock Settings:
- Balanced Setup: Once you establish your fork clicker settings, repeat the process for the shock to maintain a balanced feel.
- Manual Reference: If unsure about initial settings, consult your owner's manual for a starting point.
Signs You Need a Pro:
- Limited Clicker Range: If you reach the end of the clicker range (full soft or stiff) and the suspension feels uncomfortable, consider professional re-valving.
- Improper Spring Rate: Suspension specialists can assess your weight and riding style to ensure you have the correct spring rate for optimal performance.
Benefits of Professional Service:
- Tailored Setup: Suspension technicians can personalize your suspension based on your weight, riding style, and speed.
- Improved Traction & Comfort: Re-valving and potential geometry adjustments can enhance traction and overall ride enjoyment.
- Wider Tuning Range: A proper setup provides a wider range of clicker adjustments for further fine-tuning.
Click Here To Learn More About Our Suspension Service!
See Our WMR Suspension YouTube Playlist here!


Tip #4 Build Confidence Through Suspension Adjustments: Taking the time to learn when & where to make your suspension adjustments will help build confidence in your riding. Pay attention when something is causing you to slow down due to the bike feedback. By understanding the purpose of your adjusters, you can change the motorcycle's reaction to gain confidence in your machine. In most cases, turning suspension adjustments clockwise will slow down/stiffen the suspension movement, and counterclockwise will speed up/soften; this will be true for compression and rebound clicker adjustments. Clickers are counted in clicks or notches you feel as you spin the adjuster; typically, the shock high-speed compression is a 17mm nut outside the slow-speed compression adjuster. There are no clicks like your compression/rebound, so you will be counting the number of turns made; for example, 1.5 turns out(counterclockwise) on HSC (high-speed compression) means you will turn your HSC clockwise until reaching a stop, then turn adjuster "out" counterclockwise 1 ½ turns, make it a habit to write down the suspension changes you make. Learning proper riding techniques with constant repetition can go a long way and even help keep you safer while riding. Not every good racer rides the same due to the various shapes & sizes of humans, so I recommend taking on multiple sources of riding & mechanical training information and finding the ones that suit your needs. When you ride, put what you have learned into action and practice those good habits.
- Listen to Your Bike: Pay attention to feedback that makes you slow down. Understanding this feedback can guide adjustments.
- High-Speed Compression (HSC): No clicks, use turns (e.g., 1.5 turns out).
- Document Your Adjustments: Write down changes for future reference.
- Develop Riding Skills: Practice good technique for safety and confidence.
- Find Your Learning Style: Explore different training resources to find what works best for you.
- Apply Your Knowledge: Put your learning into practice while riding.


Tip #5 Compression vs. Rebound Adjustments: How do you know when to adjust compression or rebound? Assuming you are riding the right bike for the terrain, basically not trying to take your woods bike and doing road racing on a paved track, that would involve a lot more than just clicker adjustments. In most cases, we start with our compression adjuster; first, we understand the differences between going stiffer vs softer before touching your rebound. Learn to adjust your rebound similarly to the compression adjustment you learned. Still, avoid adjusting both compression & rebound all at once at the beginning of your learning through testing. Thinking about your rebound adjustments being similar to your reaction time and your compression adjustments being the strength the suspension has to resist compressing with impacts. When you increase your speed over obstacles, your reaction time should also keep up to keep the wheels planted to the ground. Some riders prefer a slower rebound than others; I typically find this out with a series of questions the rider answers to get a direction on what adjustments should be made. For starters, if you are adjusting rebound on your own, go counterclockwise/faster with the clicker if you typically get the arm pump too soon due to the suspension feeling “dead,” not active, or not copying the ground. If the suspension feels mushy, with very active movement from the suspension not allowing you to ride aggressively, then turn rebound clockwise/slower. The changes you make to the forks should be copied to the rear shock so that all together, the front & rear are going in the same direction to maintain that balance.
- Adjust Compression First: Understand compression (stiffness vs. softness) before tackling rebound.
- Rebound and Reaction Time: Rebound adjustments relate to suspension "reaction time" to impacts.
- Faster Rebound (counter-clockwise): Use for less arm pump and a livelier suspension feel.
- Slower Rebound (clockwise): Use for a firmer suspension to handle aggressive riding.
- Balance Front & Rear: Mirror adjustments on the rear shock to maintain balance.


Tip #6 When Clicker Adjustments Make Things Worse: If you find yourself adjusting clickers, the bike gets worse, and you can't return to your starting point. The first step is not to panic; check your basics, such as rider sag and fork air pressure, if applicable. At times, forks that have yet to be bled will feel worse, and you cannot make a clicker change to help with the rigidness of adding additional air springs to your forks. Start with putting your bike on a center stand, making sure forks are fully extended, and locating your fork bleeder screws to bleed correctly. This can be done by removing the OEM screw, letting the trapped air out, or by the push of a button on push-style bleeder screws; push Style bleeders can get stuck open, so look out for oil residue around the bleeder button after your ride. It is essential to bleed both forks. The air fork also has a bleeder screw, and shocks do not have a bleeder screw for you, the rider, to use since the shocks spring isn't sealed by an outer/inner tube like the forks; the fork bleeder ports just let the outer chamber pressure out not internal cartridge pressure. After completing the steps above, set all your clickers to the middle of their full range of movement. For example, suppose your compression has 30 clicks of range. In that case, a middle setting is 15 clicks out, or if you have access to an owner's manual set suspension to the standard clicker settings, and by doing this, you should feel a difference for the better or, in some cases, for the worse if your suspension has 50+ hours of use. Chasing a good feel from a suspension overdue for service can be time-wasting. The oil provides different support and air in the sealed shocks/cartridges, creating unpredictable handling characteristics. Suspension that is Overdue for service will also adversely affect your suspension components; as the oil accumulates more hours of use, it starts to break down and gets less viscous, so oil protection between metal to metal parts starts to weaken and get thinner. Typical service intervals are 35-40 hrs for average riding; for racing, it's suggested sooner depending on the level of racing; it's recommended to write down your suspension clicker settings before making changes so that you have a map on how to get back to your baseline.

Leave a comment
This site is protected by hCaptcha and the hCaptcha Privacy Policy and Terms of Service apply.